Image Tracking
Introduction
XREAL's Image Tracking capability allows you to build AR apps that can respond to and follow images in the natural environment. These images can include books, signs, posters, or logos.
A set of images can be uploaded to the database as pre-trained references. These images can then be tracked by XREAL SDK in the physical world, with their transformations updated during the session.
Capabilities
- XREAL SDK supports detection and tracking of both stationary images (e.g., a painting on a wall or a book on a table) and moving images (e.g., a handheld poster or a rotating billboard).
- Once tracking is initiated, the SDK continuously provides pose estimations (position and orientation) of the tracked image. To ensure accurate alignment of virtual content with the physical image, it is critical that the physical size specified in Unity exactly matches the actual dimensions of the printed image. Even a small discrepancy (e.g., 1 cm) can cause noticeable depth errors—resulting in virtual objects appearing unnaturally in front of or behind the tracked image. Therefore, developers must carefully measure the printed image and input the precise size in Unity to achieve correct visual anchoring and stable tracking results.
- Developers can add up to 5 unique reference images to the image library. However, the SDK supports real-time tracking of up to 1 image simultaneously. Attempting to track more than 1 image at the same time may degrade performance. The SDK does not support tracking multiple instances of the same reference image within a scene.
Best Practices:
For reliable tracking performance, the image should be of sufficient size and occupy a noticeable portion of the display field. For example, a 40 cm × 40 cm image is ideally viewed from a distance of around 40 cm. To ensure stable detection and tracking, the distance between the camera and the image should generally not exceed 1.5 times the image’s physical size. Images that are too small or appear too small within the user’s field of view may not be tracked accurately or stably.
Requirements
Image Selection Checklist
- Supported Formats & Resolution: Reference images should be in a format supported by Unity, such as JPEG, PNG, TGA, BMP, GIF, PSD, or TIFF. The images should be in grayscale or RGB color, with a recommended resolution of 150 DPI or higher. For optimal performance, the dimensions of printed reference images should be less than 1 square meter (1m^2).
- Feature Points: To enable better tracking, it is important to use images with well-distributed feature points and low degrees of self-similarity. NRSDK can evaluate the tracking quality of the reference images when you add them to the database. Images with low tracking quality cannot be added to the database.
- Image Creation: For those who design original reference images, we suggest to export the image using Adobe Illustrator rather than Adobe Photoshop. This is because Photoshop has looser export standards and NRSDK can sometimes fail to read information on pixel density.
Image Tracking Condition Requirement
- Surface: Images printed with dull surfaces perform better than glossy ones due to reduced light reflections.
- Initialization: The quickest way to initialize image tracking is to view the image at a slight angle while keeping the image flat and undistorted.
- Quality Score: The NRImageTracking Tool gives a score between 0 and 100 for each uploaded reference image. We recommend using images with a score of 65 and above. Using an image with a score lower than 40 will result in poor tracking quality.
Examples of good images and bad images:

Developer Guide
Learn how to implement Image Tracking in your AR applications using AR Foundation with XREAL SDK. By integrating with AR Foundation, XREAL provides developers with a standardized development interface and workflow, allowing them to use the unified AR Foundation API for development. This greatly reduces the learning curve, enhances code portability, and enables the same codebase to support a wide range of platforms and devices.
Basic Setup
- Create a new project in Unity.
Need help setting up? Try Getting Started with XREAL SDK first.
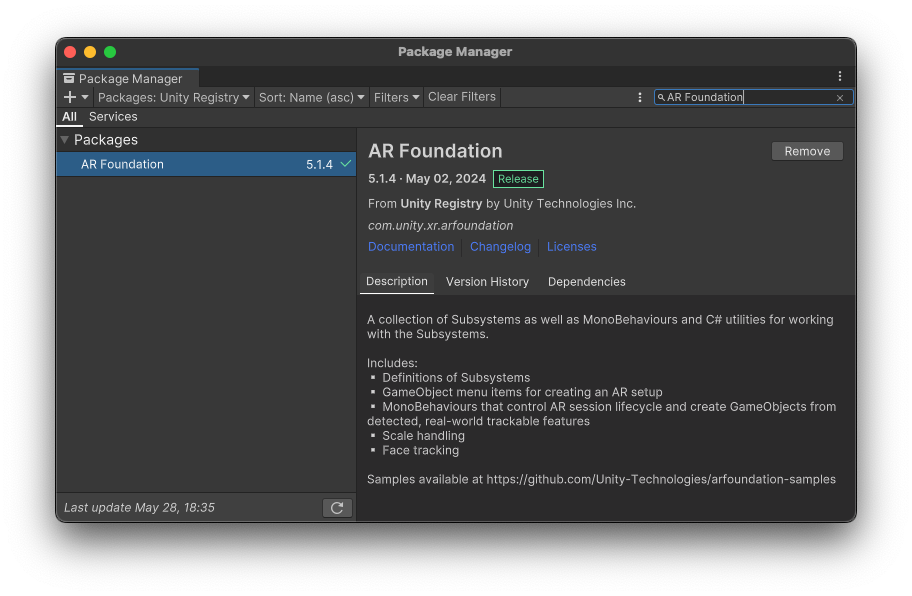
- Install AR Foundation from the Unity Registry in the Package Manager.
-
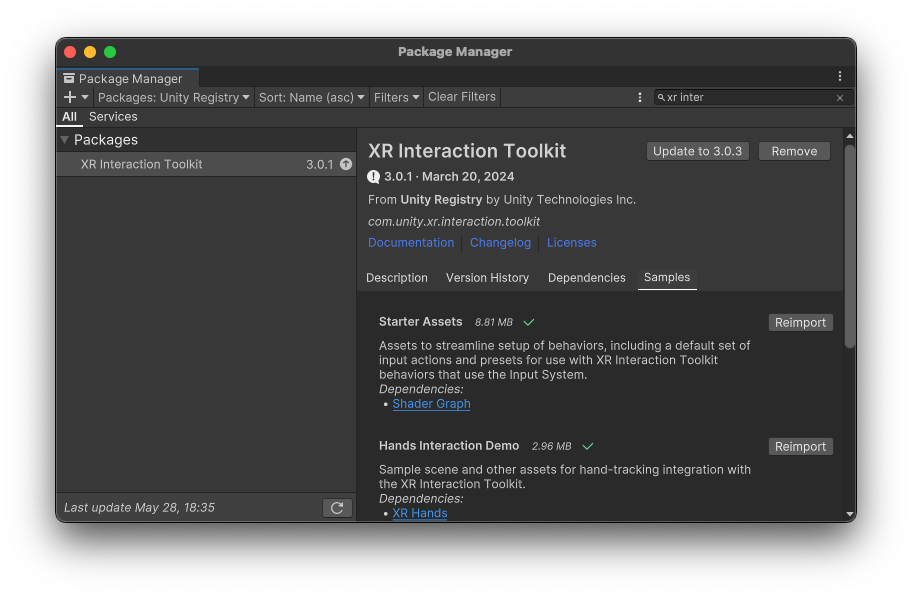
Install XR Interaction Toolkit from the Unity Registry in the Package Manager and import Starter Assets in Samples tab.
-
Create a new scene
-
Add an
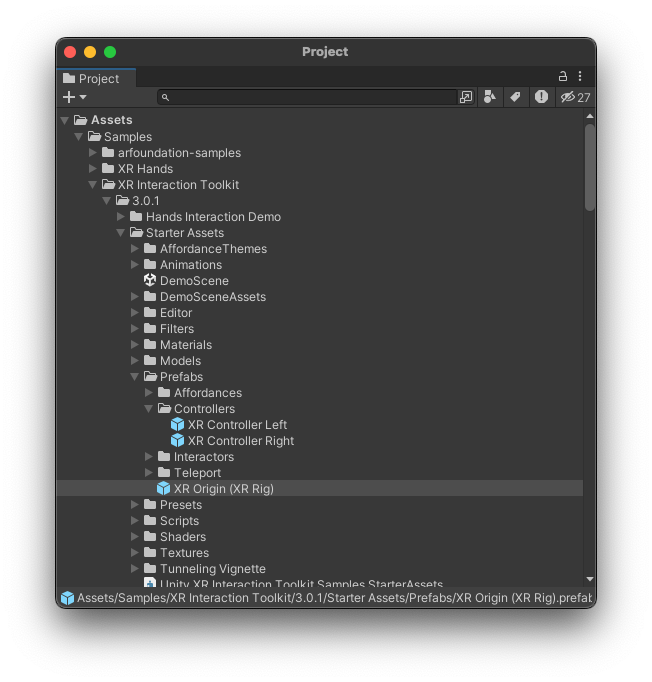
XR Origin(XR Rig)GameObject to the scene:In the Project window, find Assets/Samples/XR Interaction Toolkit/3.0.1/Starter Assets/Prefabs/XR Origin (XR Rig).prefab, and drag it to Hierarchy window.
-
Add an
AR SessionGameObject to the scene: in the Hierarchy window, right-click and select XR > AR Session.
Create a reference image library
-
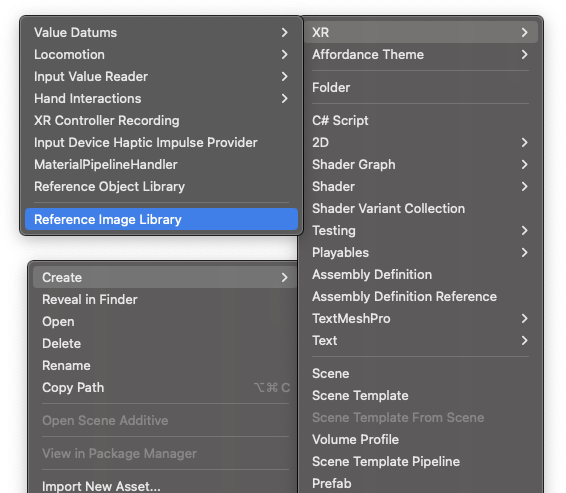
Create reference image libraries in the Unity Editor. From Unity's main menu, go to Assets > Create > XR > Reference Image Library.
-
This creates a new reference image library asset in your project. To add images, select this Asset, then click Add Image and complete the fields that appear:

You can specify the following information:
- Name:identify which reference image has been detected.
- Specify Size: the accurate physical size of the image you will print later. The error between the actual size and the size you filled in should not exceed 1cm. The correct measures are essential for a correct pose estimation and subsequent placement of an augmentation.
- Keep Texture at Runtime:should set to true, this enables the subsystem to pass the texture data to the XREAL SDK service for tracking purposes.
Set the reference image library
Add ARTrackedImageManager on XR Origin GameObject.
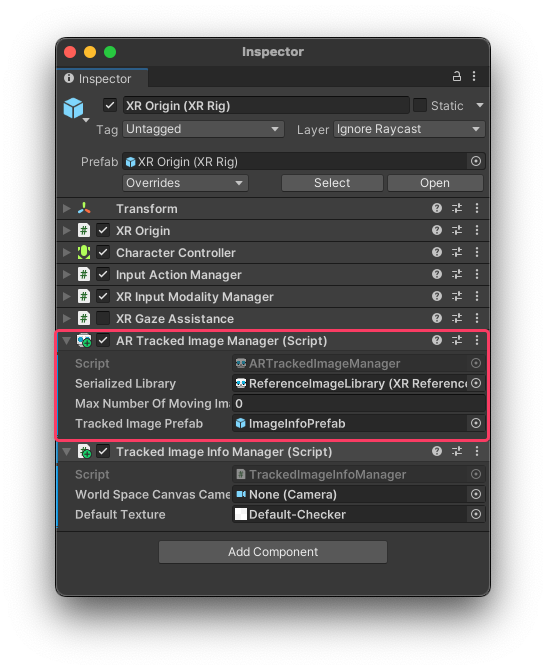
The component provides three fields:
- Serialized Library: the
Reference Image Librarycreated above, - Max Number Of Moving Images: XREAL SDK does not require developers to set this field.
- Tracked Image Prefab: This prefab will be instantiated whenever an image from the reference image library is detected.
Respond to detected images
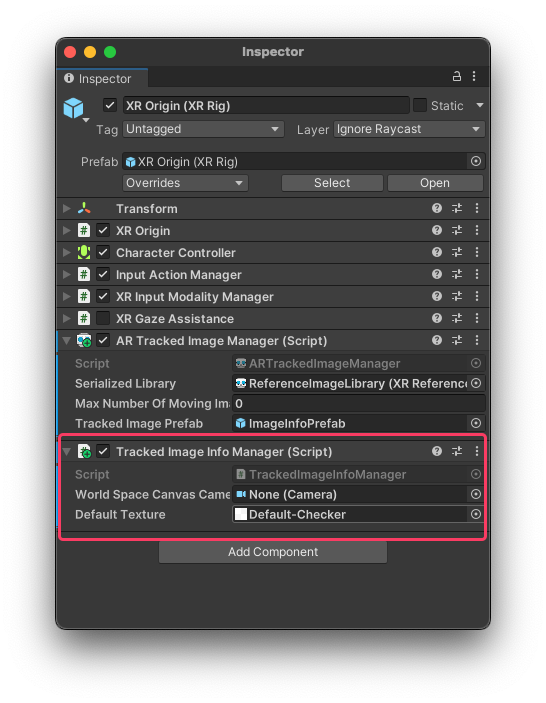
Add a TrackedImageInfoManager script to the XR Origin GameObject. This script can display different information on the tracked image and can be modified to respond to detected images as needed.
Subscribe to the ARTrackedImageManager's trackedImagesChanged event to be notified whenever an image is added (that is, first detected), updated, or removed:
[SerializeField]
ARTrackedImageManager m_TrackedImageManager;

void OnEnable() => m_TrackedImageManager.trackedImagesChanged += OnChanged;

void OnDisable() => m_TrackedImageManager.trackedImagesChanged -= OnChanged;

void OnChanged(ARTrackedImagesChangedEventArgs eventArgs)
{
    foreach (var newImage in eventArgs.added)
    {
        // Handle added event
    }

    foreach (var updatedImage in eventArgs.updated)
    {
        // Handle updated event
    }

    foreach (var removedImage in eventArgs.removed)
    {
        // Handle removed event
    }
}
Build and Run
Make sure your phone is connected to your PC before clicking Build and Run. Unity builds your project into an Android APK, which will be installed onto your phone. The app can then be launched once you plug XREAL Light glasses into the phone.
As you move your XREAL Light/Air 2 Ultra glasses, the app automatically detects and tracks images from the set of reference images.